§ I.f Field Guide · Water Acequias & ponds

Building an acequia.

A short history, sodium bentonite mix ratios by soil type, what to add for strength, and how to build so it doesn’t erode — written for a crew to learn fast and get it right the first time.

Practice today

Mini acequia on a plate

Before touching real ground, build a tiny version and watch the mix hold water — or not. Same lesson as a full-size pilot panel, just on a plate.

MIX WALL WATER
Top-down: mound a ring of mix, pour water in the center.

Grab

  • A paper plate or shallow tray
  • 1 cup sand
  • 1 cup dirt — plain topsoil or dirt dug from the yard. Not potting mix, nothing with mulch or fertilizer in it.
  • A strainer, an old sieve, or just your fingers — to pick the dirt clean
  • ~2 tbsp sodium bentonite powder
  • A spoon
  • A small cup of water
  • 15–20 minutes to watch it

Do

  1. Sift the dirt first

    Break up clumps and pick out every rock, root, and stick — run it through a strainer if you have one. You want fine, clean dirt with nothing chunky in it.

  2. Mix dry

    Combine the sand, sifted dirt, and bentonite — no water yet. Stir until it's evenly tan all through, no grey streaks left.

  3. Shape it

    Mound the mix into a little horseshoe or ring on the plate — a tiny pond wall or mini channel.

  4. Mist, don’t soak

    Lightly wet it — it should hold a shape when squeezed, not crumble and not run.

  5. Pack it

    Press firm with the back of the spoon in a couple of thin passes — same idea as compacting real lifts, just tiny.

  6. Let it sit

    About 5 minutes to firm up.

  7. Pour water

    Into the center.

  8. Watch it

    For 15–20 minutes.

Read the result

  • Water sits and holds, maybe a little damp at the very edge — the ratio’s right.
  • Water disappears fast, plate goes dry underneath — add a bit more bentonite, remix, try again.
  • Mix cracks and crumbles when pressed — too dry when packed, add a touch more water next time, not more bentonite.
§ I · Where this comes from

A short history.

An acequia is a gravity-fed irrigation ditch — one of the oldest working technologies still in daily use on this continent.

  • The lineage runs through Persian qanats and Roman aqueducts into Moorish Spain, where gravity-only irrigation across arid land got refined.
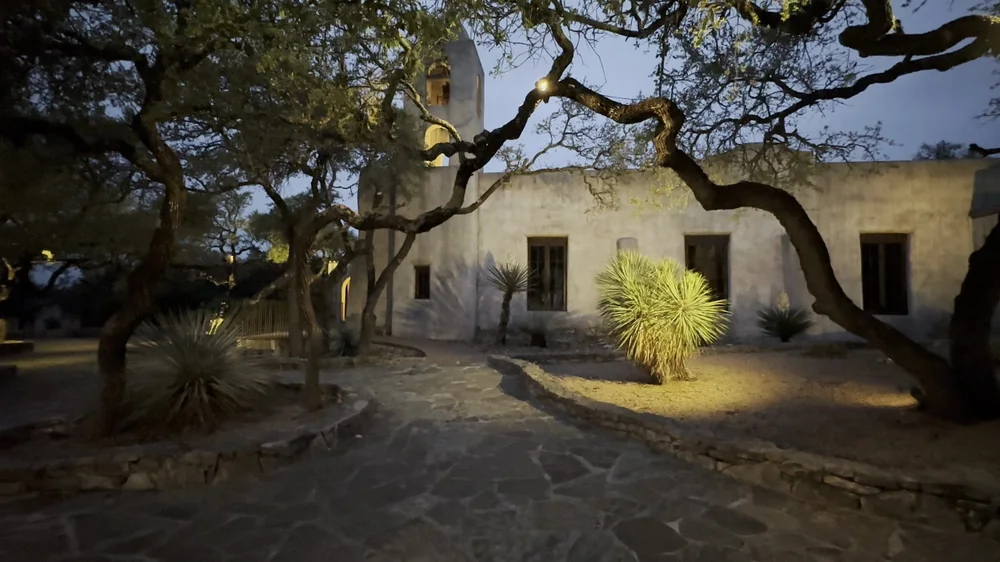
  • Spanish colonizers brought it to the Southwest in the 1600s–1700s — Indigenous communities adapted and expanded it fast. San Antonio’s mission acequias are still traceable in the landscape today.
  • What made it last wasn’t the ditch — it was the governance. A community elects a mayordomo (ditch boss) who allocates water by turns, and everyone with rights to it owes labor to maintain it. The build and the social contract were the same document.
§ II · The core material

Sodium bentonite, in plain terms.

  • It swells — around 12–15x its dry volume when wet.
  • That swelling is the whole trick: worked into soil, the clay expands and chokes off the pore spaces water would travel through. It doesn’t glue soil together like cement — it clogs it, like packing wet wool into a gap.
  • Sandy soil needs more of it — big, connected pore spaces take more clay to choke off.
  • Heavy clay needs less — the native soil’s already doing most of the job.
  • It fails wet-dry, not old — repeated cracking from drying out is what breaks a seal, not age. Re-work it, don’t replace it.
  • It has to stay buried — sun and foot traffic break down an exposed bentonite surface fast. Always cap it with soil.
§ III · Mix reference

Bentonite-to-soil ratios.

Standard published ranges by dry weight — a start point, not gospel. Always run a plate or pilot-panel test first.

Native soilBentoniteCompacted lift
Sandy loam8–10%4–6 in
Loam / silt loam5–8%4–6 in
Sandy clay loam4–6%6 in
Heavy clay2–4%6 in

Field math: an 8% mix is roughly one 50 lb bag of bentonite per 625 lb of dry soil — about one bag per half cubic yard of loose sandy loam.

  • Blanket method: spread bentonite over the excavated surface, till into the top 4–6 in in place. Fast for a small crew.
  • Admixture method: pre-mix bentonite into stockpiled soil before it goes back in. More even mix.
  • Always go in dry, then wet and compact. Never mix it pre-wetted — it clumps and stops spreading evenly.
§ IV · Strength & erosion resistance

What to add, and why.

  • Straw / natural fiber — a light handful per wheelbarrow into the mix. Resists cracking, holds it together in tension, same logic as straw in adobe.
  • Geotextile fabric — under riprap at the inlet, outlet, and any drop. Stops fines washing out from under the rock.
  • Riprap / stone armor — anywhere moving water hits the bank directly. The single highest-erosion point on a channel.
  • Native deep-rooted grass — seed the banks as soon as grading’s done. Roots knit the topsoil long-term.
  • A key trench — a narrow trench along the centerline of any embankment, cut into undisturbed soil, filled and compacted with the mix. Skipping this is the #1 cause of a slow-failing pond.
§ V · In cross-section

What it looks like in the ground.

One picture of the whole anatomy. The same layering builds a pond — just banks sloped 3:1–4:1 instead of a channel profile.

SOIL CAP BENTONITE LINER · 4–6" LIFTS NATIVE SOIL RIPRAP WATER (flow ⊗) KEY TRENCH
Channel cross-section. The liner is keyed into undisturbed soil, built up in compacted lifts, capped with clean topsoil, and armored with riprap where moving water meets the bank.
§ VI · Build sequence

Step by step.

  1. Lay out and grade

    Stake the centerline. Channel: gentle, continuous fall. Pond: bank slope roughly 3:1–4:1.

  2. Excavate to subgrade

    Dig to depth plus lift thickness. Clear roots, rocks, organics — they decompose and leave voids later.

  3. Cut the key trench

    Along the centerline of any embankment, into undisturbed soil, compacted first.

    SKIP THIS AND IT WILL LEAK
  4. Run a pilot panel

    A few square feet, same mix, same compaction. Pond water on it 24–48 hrs before committing to the full job.

  5. Place and compact in lifts

    4–6 in at a time, wetted to near-optimum moisture, packed firm before the next lift goes on.

  6. Armor the high-erosion points

    Geotextile then riprap — every inlet, outlet, spillway, outside bend. Not optional on a working channel.

  7. Cap, seed, and rest

    A few inches of clean topsoil over the liner, native grass seeded right away, let it green up before running flow.

  8. Fill or run slowly

    Bring water up gradually. Walk the banks daily for two weeks — catch damp spots early, while they’re a patch job.

§ VII · Know the difference

Moving water vs. still water.

An acequia and a pond share a liner, but they fail differently.

Acequia (channel)

  • Erosion hits bends, inlets, outlets hardest.
  • Armor those points hard.
  • A straight, gentle run needs far less protection.

Pond

  • Erosion comes from wave action at the waterline and overtopping in big rain.
  • Keep banks at 3:1–4:1.
  • Size the spillway generously.
Before you call it done

Pilot panel held water 24–48 hrs with no seep · key trench cut and compacted first on every embankment · every lift compacted before the next · liner fully capped with clean soil, none exposed · geotextile + riprap at every inlet, outlet, spillway, and outside bend · banks seeded with native grass right after grading · first fill brought up slowly, banks walked daily for two weeks.